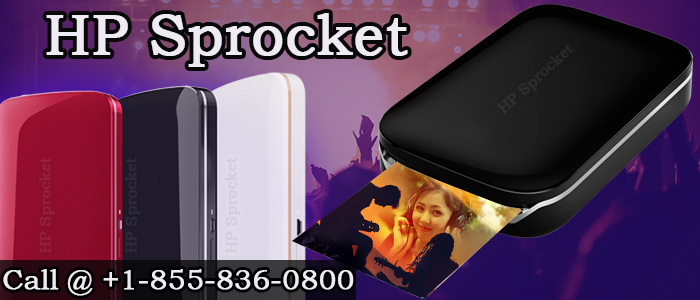
- It’s a tiny wallet-sized printer from Hewlett-Packard that produces fast photo prints from your phone’s albums
- By getting HP Sprocket application on your smartphone, you can customize your photos before printing
Set up procedures for HP Sprocket Photo printer
- Remove the HP Sprocket Photo Printer from the box
- Also, take the HP Zink Sticky-Backed Photo paper from the box
(Note: HP always recommends the use of Zink Sticky backed photo paper for better results)
- Plug one end of the USB cable into your HP Sprocket Photo Printer and the other end to your computer
- Navigate to the hpsprocket.com web page from your Mobile device
- Click “Download” to get the HP Sprocket mobile app
- Now open the Zink Sticky backed photo paper package
- Zink photo paper pack contains ten sheets of photo paper along with a removable sticky back
- You’ll also see the Calibration card with this pack
(Note: Calibration card is useful for obtaining the best print quality and cleaning the paper path)
- Slide and remove the top cover of your HP Sprocket Photo printer to load the paper on to it
- Load the photo paper with the Calibration card at the bottom
- Insert the top cover again
- Press and hold the Power button to start the HP Sprocket Photo printer
- Navigate to “Settings” and then select “Bluetooth” on your Smartphone
- Select the “HP Sprocket” device name and click “Confirm” to pair the two devices
- HP Sprocket app will open once both the devices finished pairing
- From the Sprocket app, you can print photos through your connected social media platforms
Navigate to our web page or contact us if you face any issues while setting up the HP Sprocket Photo Printer.
